Part 2: Creating your first FastStore project
Now that your development environment is set up, you are ready to create your very first FastStore storefront. Time to get busy! Let's go?
In this part of the Tutorial, you will:
Clone our base store to your local machine.
🔎 The base store is a boilerplate store theme with no styling that contains only the most basic functionalities required to run a VTEX store.
Connect the base store to your VTEX account in the
vtex.envfile.Run a local development server at
http://localhost:8000/.Make the first change in your store frontend.
Step 1: Cloning the base store
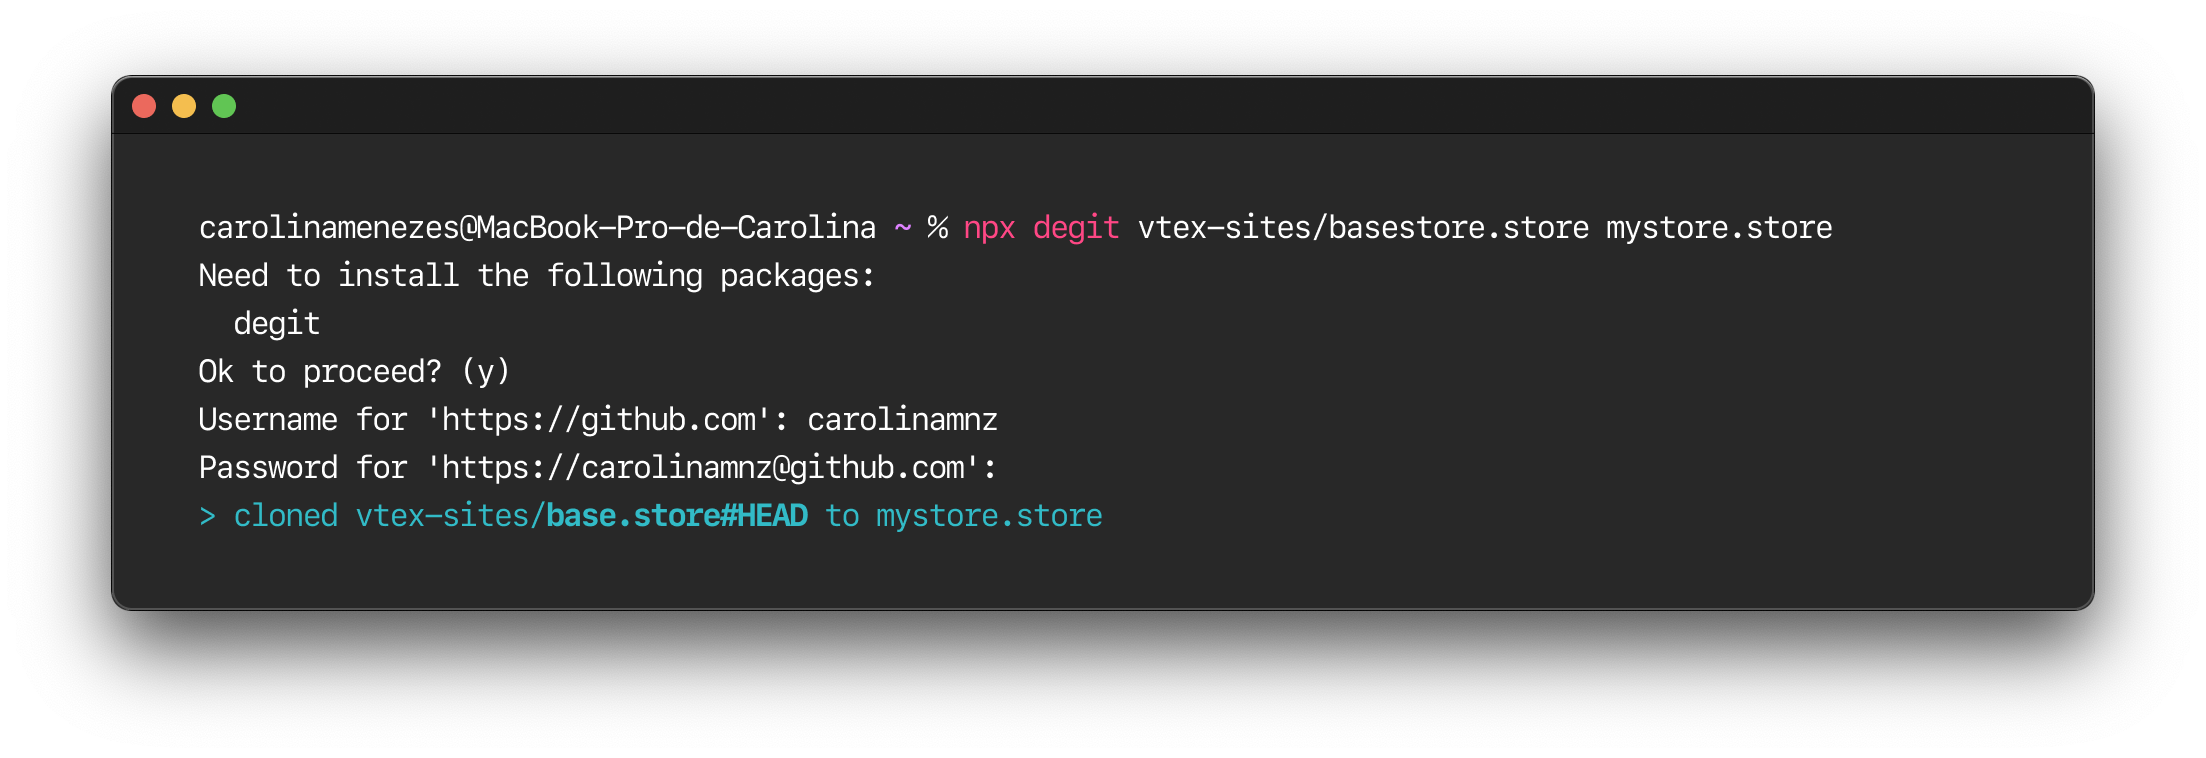
Clone the base store to your local machine by running the following command. Remember to replace
mystorewith the name of your store. Notice that your project name must end with.store.npx degit vtex-sites/base.store mystore.storenote
We strongly recommend using degit to download only the latest commit from the base store. If the prompt displays "Need to install the following packages: degit. Ok to proceed? (y)", enter "y".
Change into the working directory and install all the dependencies listed within the
package.jsonfile in the localnode_modulesfolder.cd mystore.store
yarn installinfo
When you first install your FastStore + Gatsby store's dependencies, yarn automatically generates the
yarn.lockfile to store the exact version of each dependency needed for your project and thenode_modulesfolder to save all the modules installed. Notice that, since theyarn.lockfile already records the exact versions installed concisely, you do not need to commit thenode_modulesfolder into your version-controlled repository.
Step 2: Connecting to your VTEX account
Now that our boilerplate project is set, it's time to make it your own by connecting it to your VTEX account.
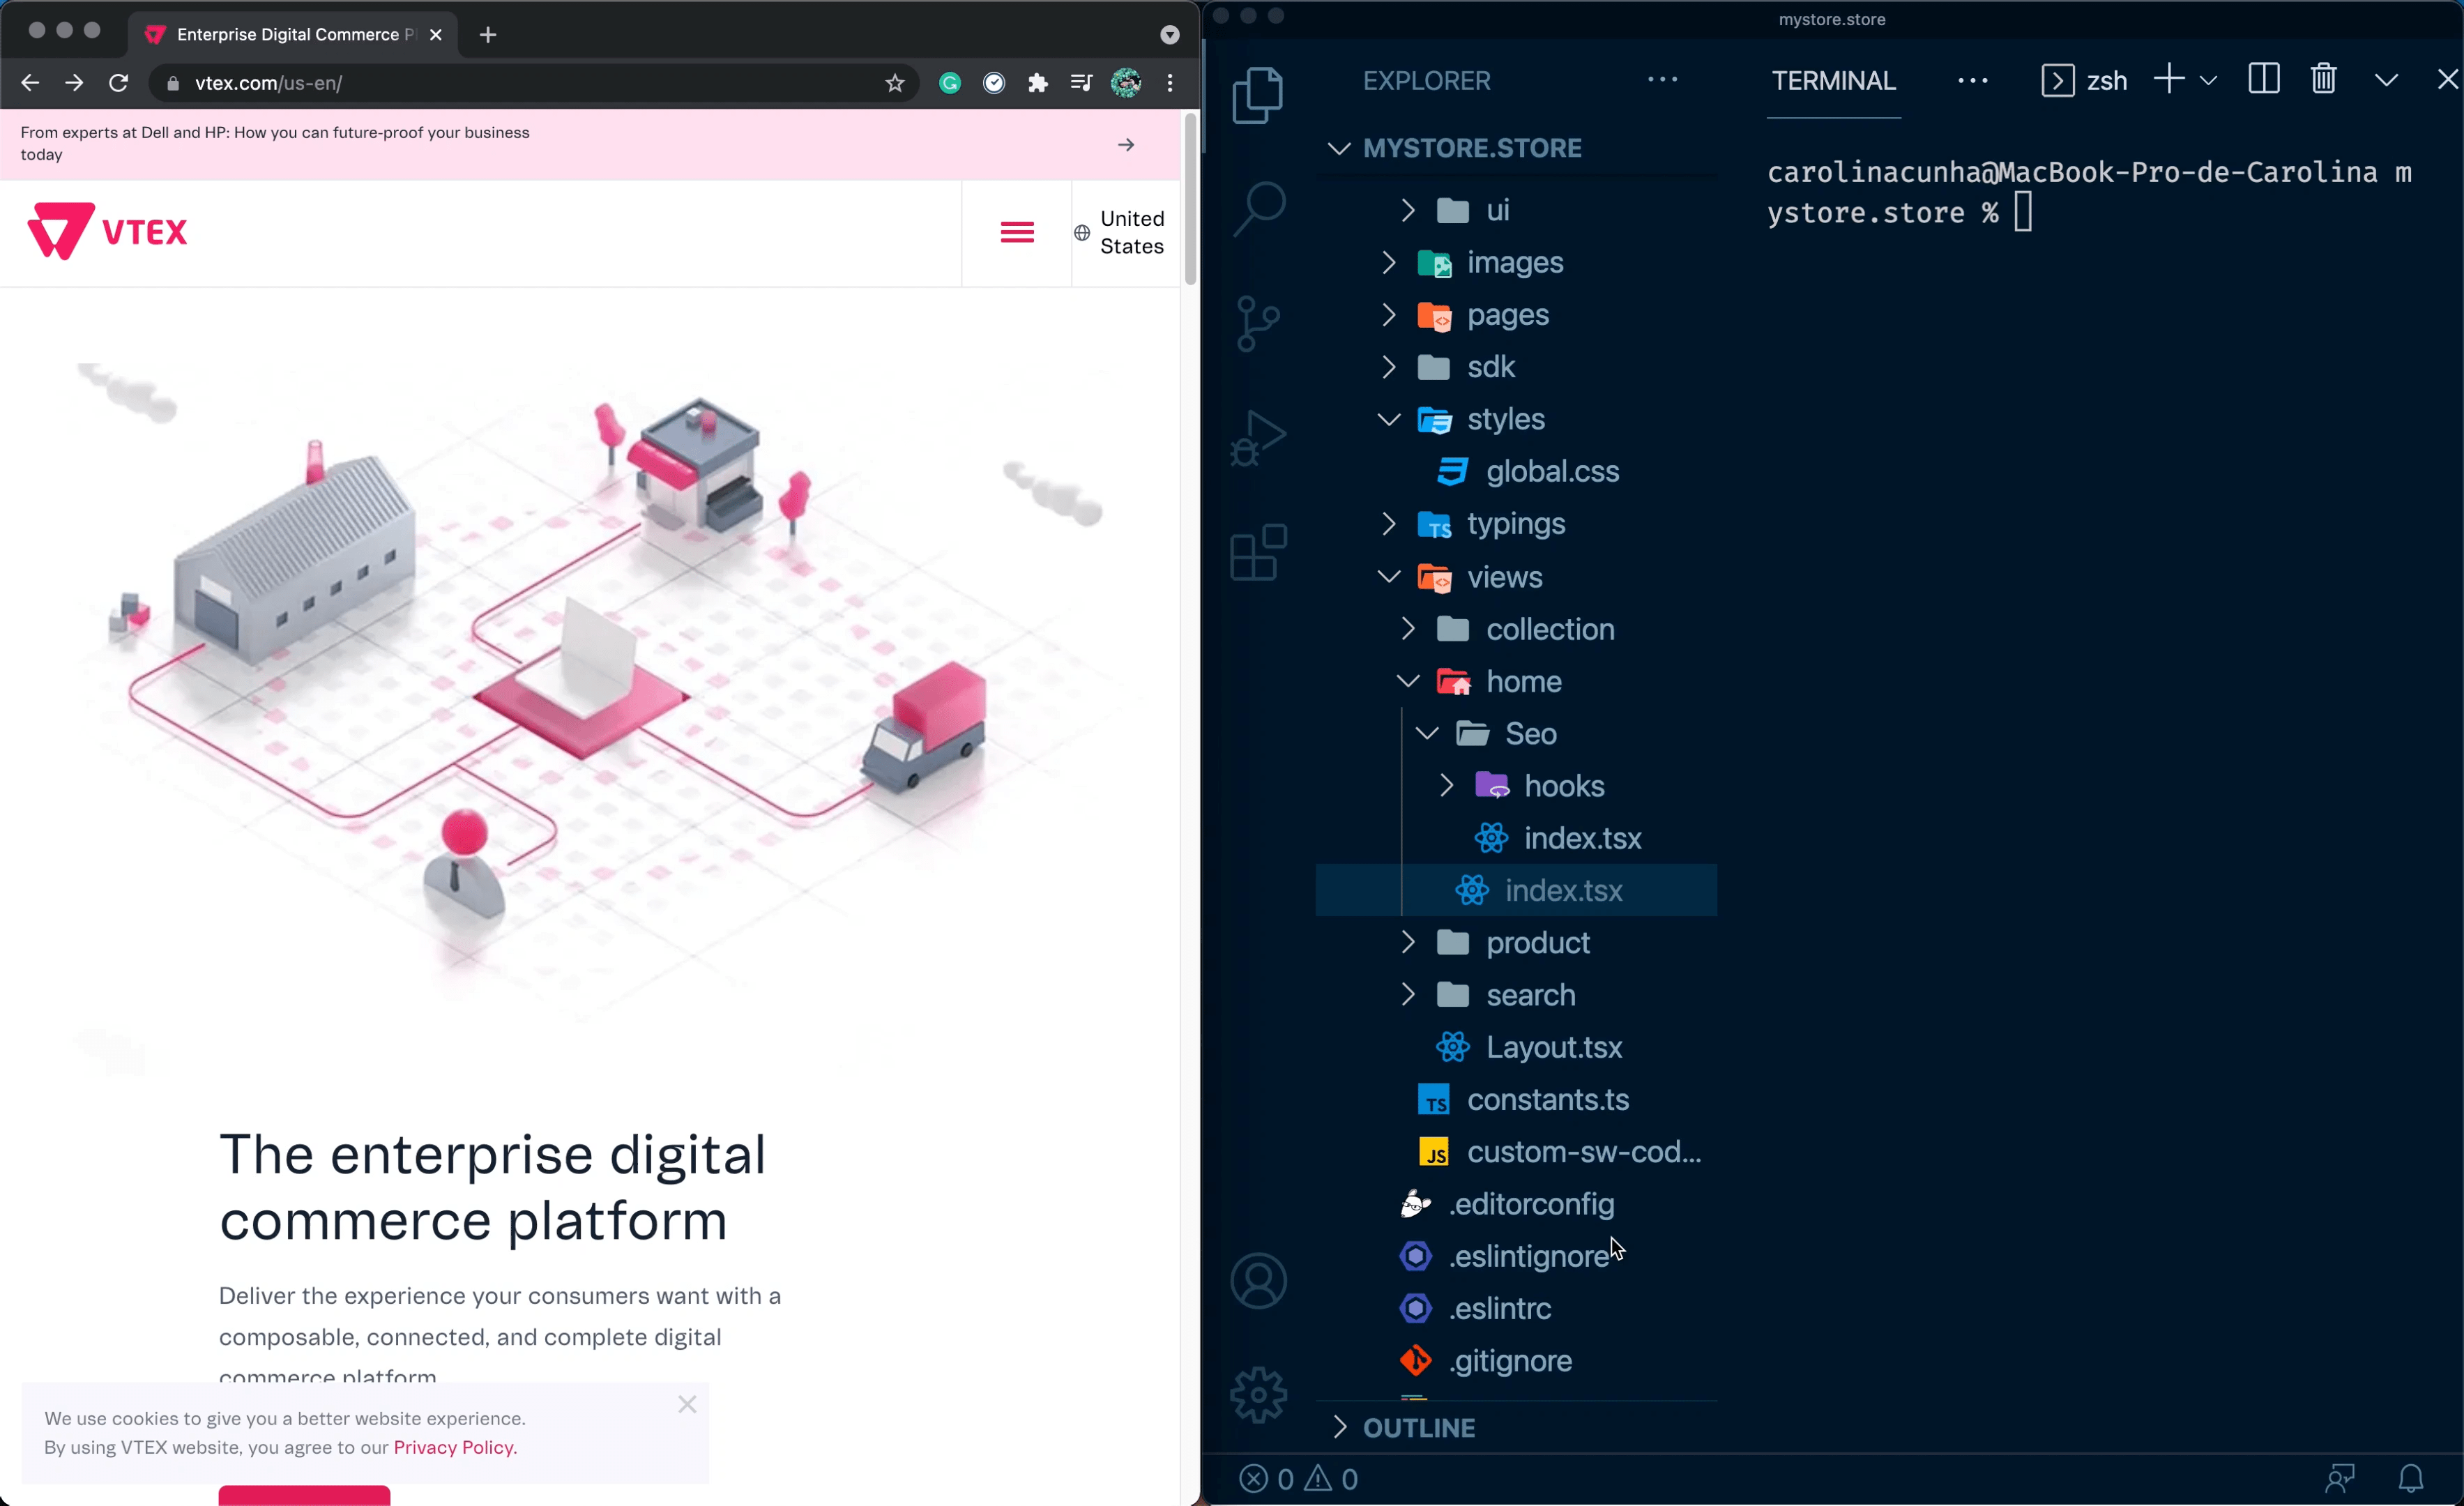
Open up your FastStore project in any code editor of your choice.
Open the
vtex.envfile and replace theGATSBY_STORE_IDwith the name of your VTEX account. To follow along with this tutorial, you can also opt to use thefashioneuropetest account.
🔎 The
vtex.envfile contains the environment variables needed for accessing your account in VTEX, i.e.,GATSBY_STORE_ID- the name of your VTEX account,GATSBY_VTEX_ENVIRONMENT- the environment domain used to develop your store, andGATSBY_VTEX_IO_WORKSPACE- the VTEX IO workspace used to develop your store.This file may also contain other individual working environment variables. To learn more about it, check out Gatsby's documentation on Environment Variables.
Step 3: Running a local server
Let's check how our project looks like in a web browser so far.
Run a local development server to serve your website.
yarn developOnce your development server is ready, the command line will output the following message:
You can now view base.store in the browser.
⠀
  http://localhost:8000/
⠀
View GraphiQL, an in-browser IDE, to explore your site's data and schema
⠀
http://localhost:8000/___graphqlinfo
When you start a development server for your project, yarn automatically generates the
.cachefolder and fills it with cached files to speed up the building process. Hence, you don't need to modify nor commit this folder into your version-controlled repository.Now, open your favorite web browser and navigate to http://localhost:8000.
Congratulations! You have just created your very first FastStore + Gatsby store website! 🎉
Now, as long as your local development server is running, you'll be able to preview your changes while you edit your files. Saved changes will hot reload in the browser. To stop running the development server, go back to the terminal and hit Ctrl + C. To restart it, run yarn develop again.
Step 4: Making the first change in your store frontend
Now that your store is up and running locally, let's make a simple change in the store frontend
First, let's add a simple h1 tag to our home page.
- Open the
index.tsxfile located insrc/views/home. This is the home page of your store website. - Replace the sample
TODOtext as in the following:
-      <div>TODO</div>
+      <div><h1>Hello World!</h1></div>
- Save your changes.
Now, let's add some CSS customization and see what happens.
Open the
global.cssfile located insrc/styles.Add the following CSS styles.
+ @import url('https://fonts.googleapis.com/css2?family=Roboto&display=swap');

* {
  padding: 0px;
  margin: 0px;
  box-sizing: border-box;
+  font-family: 'Roboto', sans-serif;
}

+nav a{
+  padding: 10px;
+}
- Save your changes.